How to Install Fibre Cable for Faster Internet Connectivity?
In today’s digital age, having a reliable and fast internet connection is crucial. Fibre cable is leading the charge in providing enhanced internet speeds. According to fibre optics expert Dr. Emily Carter, "Fibre cable technology fundamentally transforms how we connect." This statement captures the essence of the impact fibre cable has on our connectivity.
Installing fibre cable can seem daunting. However, understanding the basics can demystify the process. Many people are unaware of how fibre cable operates. It uses light to transmit data, ensuring faster speeds over longer distances. Some might worry about the technical aspects, but the rewards often outweigh the challenges. Proper installation can lead to performance that many never thought possible.
Consider the layout before starting your fibre cable installation. Plan your paths carefully and gather all necessary tools. Mistakes can happen, and adjustments may be required during the installation process. These imperfections provide learning opportunities for future projects. Embracing the journey of working with fibre cables can ultimately lead to significant improvements in your internet experience.
Understanding the Basics of Fibre Optic Technology
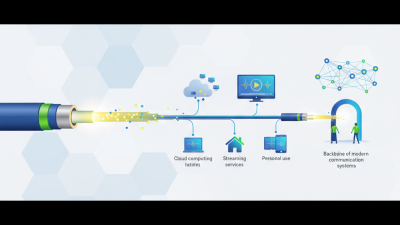
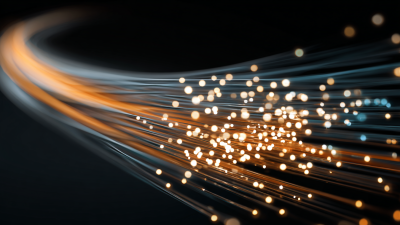
Fibre optic technology is transformative. It uses light to transmit data. This method allows for faster internet speeds compared to traditional copper cables. Understanding its fundamentals is key to installation.
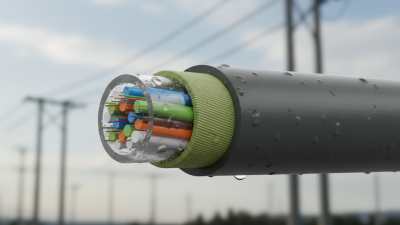
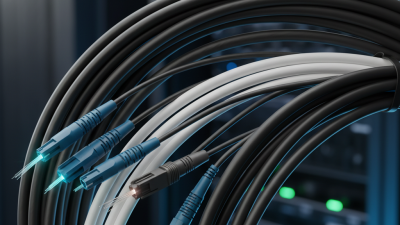
Fibre cables are thin strands of glass or plastic. They carry signals in the form of light pulses. This results in minimal signal loss over long distances. However, installation can be tricky. The cables can be fragile and must be handled with care. Improper installation can lead to bends and breaks.
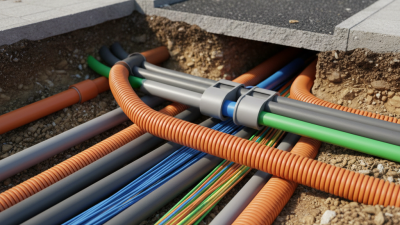
When planning an installation, consider the pathway for the fibre cables. Ensure there’s enough space and avoid sharp turns. Use protective conduits where possible. Testing the cables before finalizing connections can prevent future issues. Remember, not all homes are set up for fibre. Assess your current infrastructure to avoid complications later.
How to Install Fibre Cable for Faster Internet Connectivity?
| Step |
Description |
Tools Needed |
Estimated Time |
| 1 |
Plan the Installation Route |
Tape Measure, Marker |
1 hour |
| 2 |
Gather Required Materials |
Fibre Optic Cable, Connectors, Tools |
1 hour |
| 3 |
Install the Cable |
Cable Pulling Tools, Safety Gear |
2-4 hours |
| 4 |
Terminate the Cable |
Fusion Splicer, Cleaver, Test Equipment |
1-2 hours |
| 5 |
Test the Connection |
OTDR, Power Meter |
1 hour |
Choosing the Right Type of Fibre Cable for Your Internet Needs
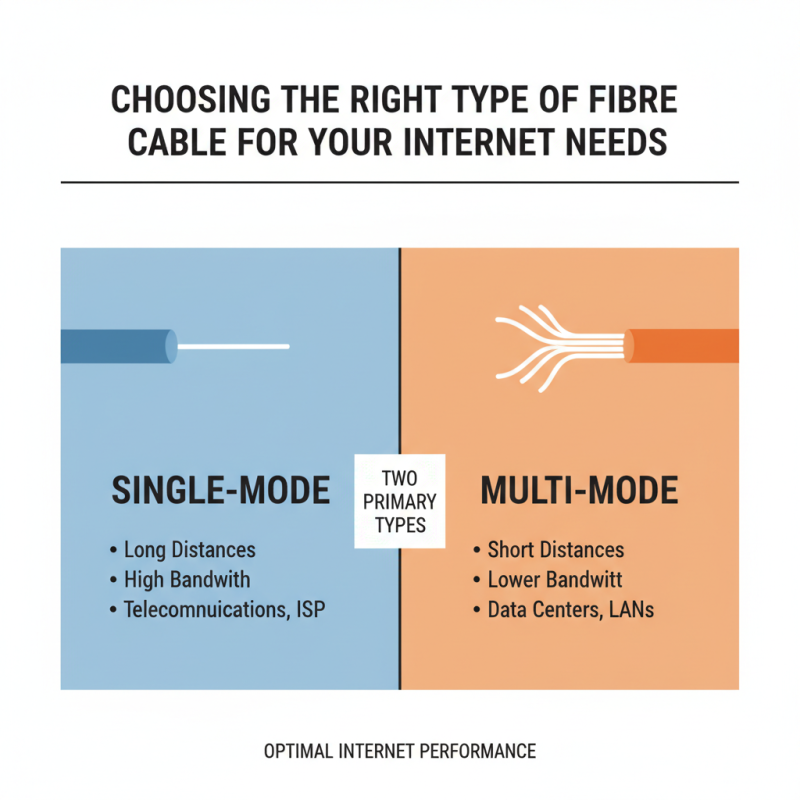
Choosing the right type of fibre cable is crucial for optimal internet performance. Fibre optic cables are not all created equal. There are two primary types of fibre cables: single-mode and multi-mode.
Single-mode fibre is ideal for long distances. It uses a single light path that minimizes signal loss. This type works well in urban settings where speed and distance matter. However, it's more expensive and requires precise installation techniques. Multi-mode fibre, on the other hand, is suitable for shorter distances. It can carry multiple light paths, making it a cost-effective solution for small offices and homes. Yet, it may face challenges over longer runs.
When selecting a fibre cable, consider your location and internet usage. Are you streaming high-definition videos? Or just browsing? Your needs shape your choice. Installation can be tricky, and improper connections can lead to frustrating internet issues. Seek professional help if unsure about the installation process. Balancing cost and functionality is key in your decision-making.
Essential Tools and Equipment for Fibre Cable Installation
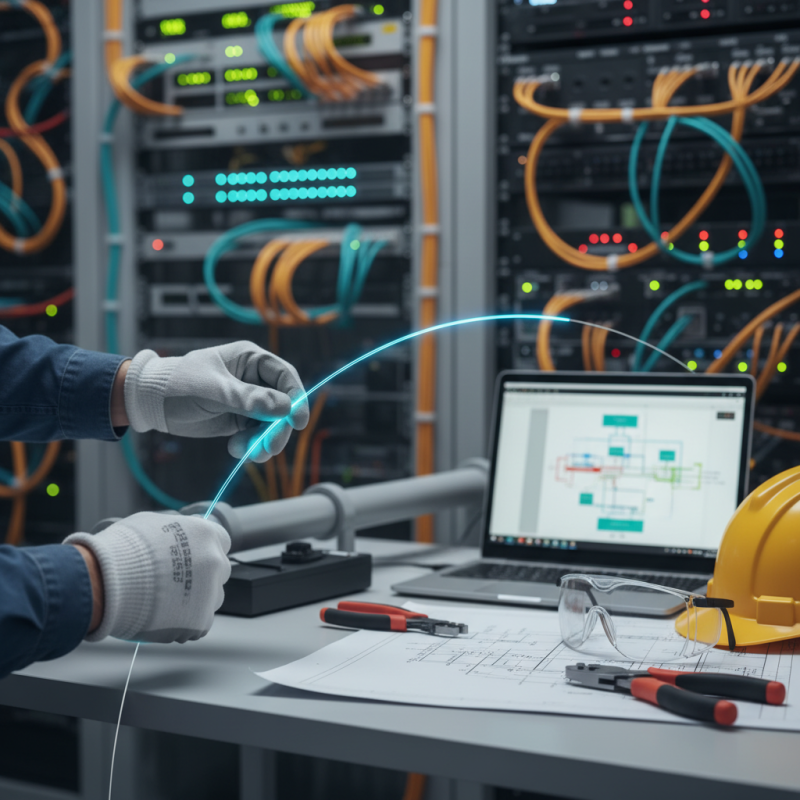
When installing fibre cable, having the right tools is crucial. Essential equipment includes fibre optic cable, cutting tools, and connectors. You will also need a fusion splicer and a testing device to ensure connectivity. Among these, a reliable fusion splicer plays a pivotal role. It connects the fibre strands seamlessly, creating a low-loss joint.
Remember to have safety gear on hand. Safety glasses protect your eyes from small particles. Gloves can help avoid injuries when handling glass fibre. Additionally, a good workspace should be clean and organized. This prevents mistakes and makes the process smoother.
Here are some tips for a successful installation. Always measure your cable carefully. Extra length can lead to clutter and signal loss. When stripping the cable, handle it with care. Breaking the fibre can cause significant issues. Regularly check your tools to ensure they’re functioning properly. Outdated tools can lead to installation errors and costly repairs.
Fibre Cable Installation: Time Spent on Essential Tasks
This chart illustrates the time spent on various essential tasks during fibre cable installation. Planning takes approximately 5 hours, while trenching and cable laying are more time-intensive tasks, requiring 15 and 20 hours respectively. Splicing and testing, though crucial, are relatively quicker tasks, needing 10 and 5 hours.
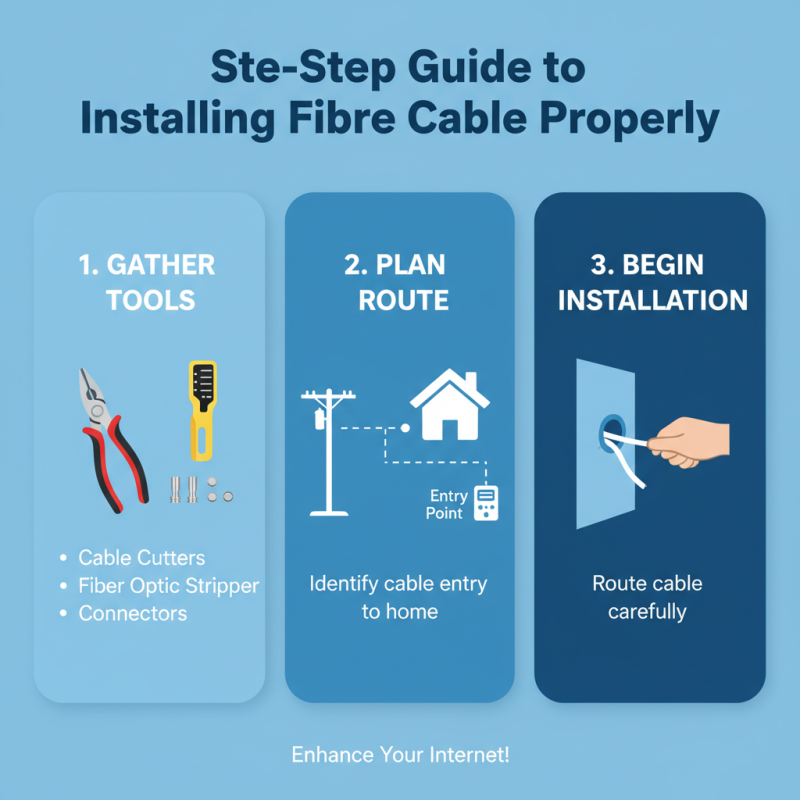
Step-by-Step Guide to Installing Fibre Cable Properly
Installing fibre cable can dramatically enhance your internet speed and reliability. The process requires attention to detail and a proper understanding of the equipment involved. Before you start, gather essential tools—cable cutters, a fiber optic stripper, and connectors are crucial. Planning the installation route is vital. Identify where the cable will enter your home.
When you begin the installation, handle the fibre cable carefully. It’s sensitive to bending. Cut the cable to the desired length, ensuring you leave some extra for adjustments. Stripping the outer jacket must be done slowly. Make sure to expose the fibre without damaging it. Once done, attach the connectors using a fusion or mechanical splice. This step often requires practice; don’t hesitate to redo it if the connection feels loose.
After the installation, test the connection with a fibre optic tester. A weak signal may indicate a problem with your splices or connectors. Patience is necessary here. If the speed isn’t up to standard, re-evaluating your installation might be needed. Fibre installations can be tricky, and learning from mistakes is part of the process. Making careful adjustments over time can lead to a more stable and faster internet connection.
Testing and Troubleshooting Your Fibre Internet Connection
Troubleshooting your fibre internet connection is essential for optimal performance. Start by examining the physical cable. Ensure there are no bends, cuts, or kinks. These can lead to signal loss. Verify that all connections are secure. Loose cables can easily disrupt service.
Next, conduct a speed test to check your current internet speed. If results are significantly lower than expected, reset your router. A simple restart can clear temporary issues. If problems persist, consider checking for network congestion. This can affect your speed during peak hours.
Monitoring your internet performance regularly helps identify patterns. Are there times when the internet slows down? Document these occurrences. This information can be useful when seeking assistance. Remember, even the best connections can face hiccups. Be patient as you troubleshoot.