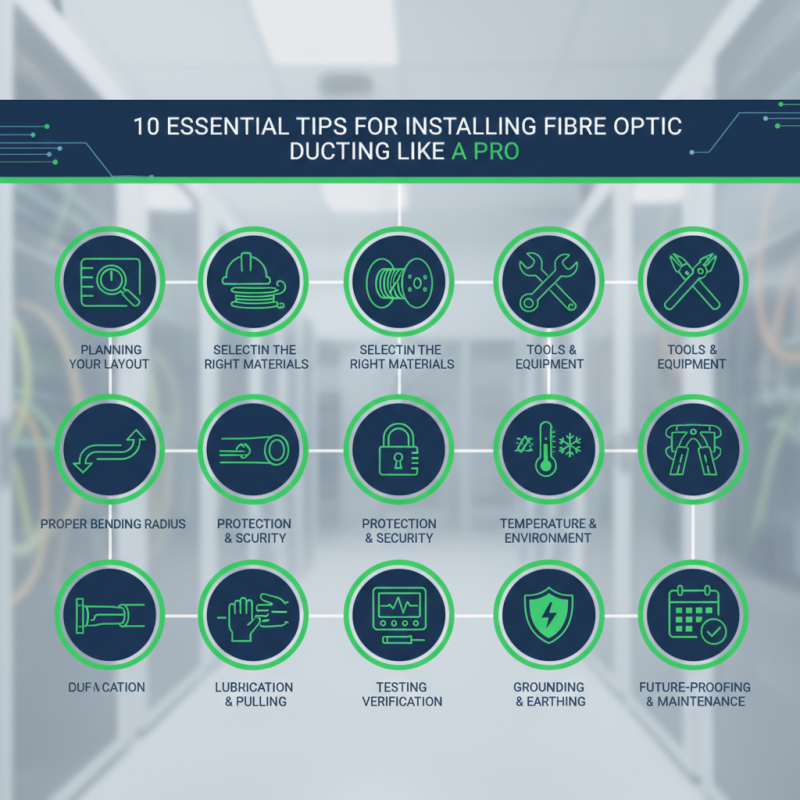
10 Essential Tips for Installing Fibre Optic Ducting Like a Pro
Installing fibre optic ducting is a critical step in ensuring efficient data transmission and network reliability. As the demand for high-speed internet and seamless connectivity continues to rise, understanding the best practices in fibre optic ducting installation becomes essential for both professionals and enthusiasts alike. With the right approach, you can set up a robust infrastructure that supports the ever-growing need for bandwidth while also reducing potential pitfalls that could affect network performance.
This guide offers ten essential tips that will equip you with the knowledge and skills necessary to install fibre optic ducting like a pro. From planning your installation layout to selecting the right materials and tools, each step plays a vital role in the overall success of your project. By adhering to these tips, you will not only enhance the longevity of your fibre optic ducting but also ensure that the network remains reliable and efficient for years to come. Prepare to delve into practical advice that will streamline your installation process and help you achieve optimal results.
Understanding the Importance of Proper Fibre Optic Ducting Installation
Proper fibre optic ducting installation is crucial for ensuring the long-term performance and reliability of fibre optic networks. The ducts serve as protective conduits for fibre cables, shielding them from physical damage, environmental factors, and external interference. Without an effective installation process, the integrity of the fibre optics can be compromised, leading to signal loss, reduced data transmission speeds, and costly downtimes. Therefore, understanding the principles of installation can significantly enhance the overall efficiency of the network infrastructure.
Moreover, the importance of correct ducting installation extends beyond immediate functionality; it also plays a vital role in future scalability and maintenance. A well-planned ducting system allows for easier upgrades and expansions, ensuring that the network can adapt to increasing data demands. Additionally, proper installation facilitates easier access for maintenance and troubleshooting tasks, reducing the time and resources required for repairs. By prioritizing meticulous installation practices, technicians can contribute to a robust and flexible fibre optic network that meets both current and future needs.
Choosing the Right Materials and Tools for Fibre Optic Ducting
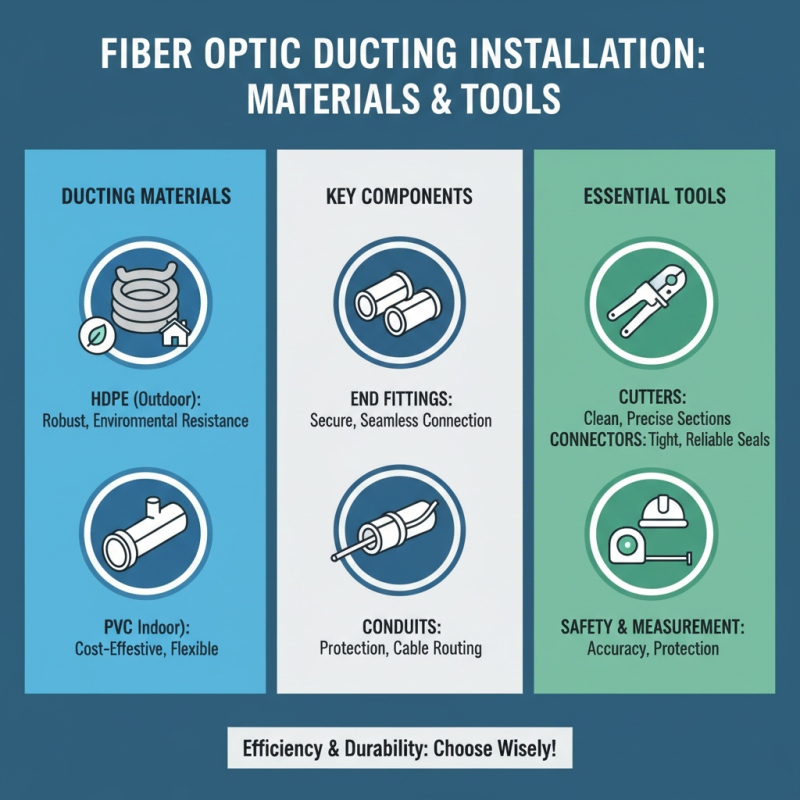
When embarking on a fibre optic ducting installation, selecting the right materials and tools is paramount to ensuring efficiency and durability. The primary components to consider include the type of ducting material, which typically ranges from PVC to HDPE, each offering distinct advantages based on environmental conditions and installation requirements. For instance, HDPE is known for its robustness and resistance to various environmental factors, making it ideal for outdoor installations, while PVC can be more cost-effective for indoor use. Additionally, never overlook the importance of end fittings and conduits that match your ducting type to maintain a seamless connection.
Equipping yourself with the appropriate tools is equally crucial for a successful installation. Essential tools include a cable pulling device, duct rodder, and various cutting and measuring tools to ensure precision. Don’t forget to have safety gear on hand, such as gloves and eye protection, to safeguard against potential hazards during the installation process. The right combination of materials and tools not only streamlines the installation process but also enhances the long-term performance of the fibre optic network, contributing to a professional finish.
Step-by-Step Guide to Planning Your Fibre Optic Ducting Layout
When planning your fibre optic ducting layout, a structured approach is essential to ensure efficiency and reliability. A well-designed layout not only minimizes the risk of signal loss but also enhances maintenance and access for future upgrades. According to the International Telecommunication Union (ITU), proper ducting design can reduce installation costs by up to 30%, emphasizing the need for meticulous planning. Start by assessing the installation site, considering factors such as existing infrastructure, terrain, and potential obstacles that could impede the layout.
After surveying the site, it's important to draft a detailed layout that strategically positions the ducting. For instance, maintaining appropriate bending radii as recommended by industry standards—typically a radius of at least 10 times the outer diameter of the duct—can prevent damage to the fibre. The National Electrical Manufacturers Association (NEMA) indicates that adhering to these guidelines can significantly extend the lifespan of the optical fibers, with well-planned layouts showing a 40% lower failure rate than poorly designed ones. Furthermore, grouping ducts together can streamline installation and maintenance, improving overall workflow. Implementing these planning steps ensures a functional ducting system ready to support high-speed data transmission.
10 Essential Tips for Installing Fibre Optic Ducting Like a Pro
| Tip No. |
Tip Description |
Important Notes |
Estimated Time |
| 1 |
Planning the Ducting Layout |
Consider the path for minimal bends. |
2 hours |
| 2 |
Gathering Necessary Tools |
Ensure all tools are ready. |
30 minutes |
| 3 |
Choosing the Right Ducting Material |
Select UV resistant materials. |
1 hour |
| 4 |
Marking the Duct Route |
Use chalk for visibility. |
1 hour |
| 5 |
Excavating the Duct Trench |
Depth should be at least 12 inches. |
2 hours |
| 6 |
Laying the Duct |
Make sure ducts are straight. |
1 hour |
| 7 |
Backfilling the Trench |
Use hand tools for control. |
1.5 hours |
| 8 |
Installing Termination Points |
Ensure sufficient access. |
2 hours |
| 9 |
Testing the Ducting |
Check for blockages. |
1 hour |
| 10 |
Final Inspection |
Ensure everything meets standards. |
1 hour |
Common Mistakes to Avoid When Installing Fibre Optic Ducting
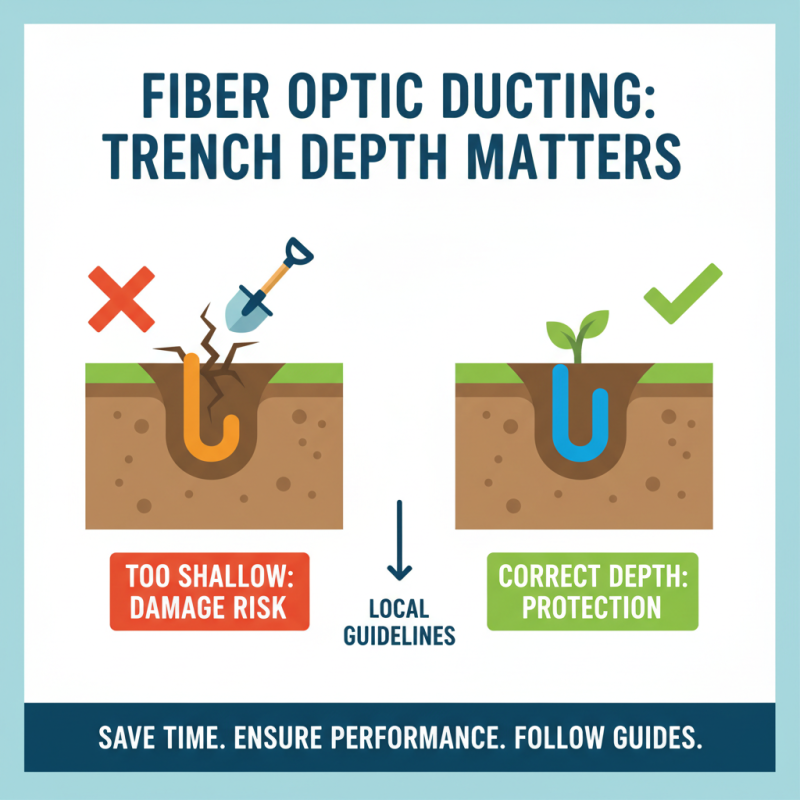
When installing fibre optic ducting, avoiding common mistakes can save time and ensure optimal performance. One prevalent error is incorrect trench depth. Ducts must be buried at the right depth to protect them from environmental factors and potential damage. Insufficient depth might expose them to shifting soil or surface activities, while excessive depth can complicate access during future maintenance or upgrades. Therefore, adhering to local guidelines for trench depth is essential.
Another frequent mistake occurs during the planning stage, where installation routes are not thoroughly evaluated. Failing to consider obstacles such as existing utilities, rock formations, or tree roots can lead to unexpected complications. This oversight not only delays the project but may also increase costs significantly. Properly mapping out the installation path and conducting a comprehensive site survey can mitigate these risks, ensuring a smoother and more efficient installation process.
Safety Precautions to Consider During Installation of Ducting Systems
When installing fibre optic ducting systems, safety precautions are paramount to ensure the well-being of workers and the integrity of the project. According to industry reports, approximately 50% of construction-related injuries stem from improper safety practices during installation processes. It’s essential to conduct a thorough risk assessment before starting any ducting installation. This includes identifying potential hazards such as electrical lines, underground utilities, and environmental conditions. Using a checklist tailored to the specific site can aid in identifying risks and implementing necessary safety measures.
Personal protective equipment (PPE) should be a fundamental part of the installation process. Statistics indicate that wearing appropriate PPE can reduce the likelihood of injury by up to 40%. Essential gear includes helmets, gloves, safety goggles, and high-visibility clothing to ensure that workers are safe from falling objects and are visible to passing vehicles. Furthermore, it’s crucial to ensure that the installation site is well-organized and free of clutter. Proper signage, barriers, and clear communication among team members can significantly reduce miscommunication and accidents, promoting a safer working environment for everyone involved.
10 Essential Tips for Installing Fibre Optic Ducting Like a Pro
This chart illustrates the importance ratings of each essential tip for installing fibre optic ducting. A higher rating indicates greater significance in ensuring a professional and safe installation process.